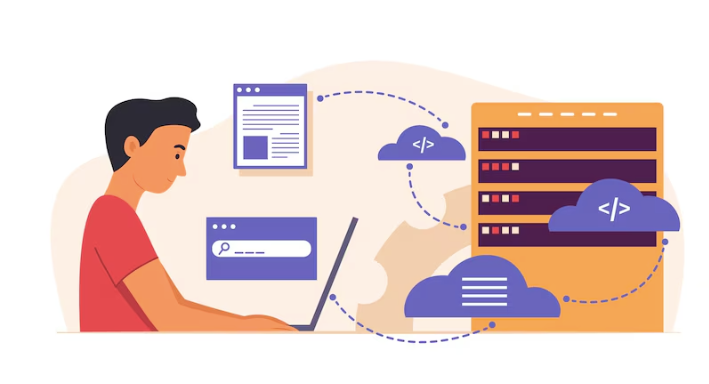
Transferring a WordPress site from a local server to a live server is a critical step in website development. It involves moving your WordPress files and database from your local environment to a live server where your website can be accessed by users. This guide will walk you through the process step-by-step.
Step 1: Prepare Your Local WordPress Site
Before transferring your site, ensure that everything is working correctly in your local environment. Check all pages, posts, and functionalities to ensure they are operating as expected.
- Backup Your Local Site: Although it’s a local site, creating a backup can help you revert back if something goes wrong. You can use plugins like BlogVault or manually copy your site files and export your database.
- Update WordPress, Plugins, and Themes: Ensure that WordPress core, plugins, and themes are up-to-date to avoid compatibility issues after transferring.
Step 2: Export Your WordPress Database
You need to export your WordPress database from your local server.
- Access phpMyAdmin: Open phpMyAdmin on your local server. This is usually accessible via
http://localhost/phpmyadmin.
- Select Your Database: In phpMyAdmin, select the database that contains your WordPress installation.
- Export the Database: Click on the Export tab, choose the Quick export method, and select SQL format. Click Go to download the SQL file.
Read: Reliable WordPress Website Backup and Recovery Solutions
Step 3: Upload Your WordPress Files to the Live Server
Next, you need to upload your WordPress files from your local server to your live server.
- Choose a Hosting Provider: Select a reliable hosting provider that meets your website’s requirements. Obtain FTP or SFTP access details from your hosting provider.
- Connect to Your Live Server via FTP: Use an FTP client like FileZilla to connect to your live server using the provided credentials.
- Upload Files: Navigate to the root directory of your live server (usually
public_htmlorwww) and upload all files and folders from your local WordPress directory.
Step 4: Create a New Database on the Live Server
You need to create a new database on your live server where you will import your local database.
- Access cPanel or hosting control panel
- In cPanel, navigate to MySQL Databases. Create a new database and note down the database name, username, and password.
Know more: How To Troubleshoot WordPress Database Connection Issues
Step 5: Import Your Database to the Live Server
Now, import the exported database to the newly created database on your live server.
- Access phpMyAdmin on the Live Server: Open phpMyAdmin from your hosting control panel.
- Select the New Database: Choose the database you created in Step 4.
- Import the Database: Click on the Import tab, choose the SQL file you exported in Step 2, and click Go to import the database.
Step 6: Update wp-config.php File
You need to update the wp-config.php file to reflect the new database details.
- Edit
wp-config.php: Open thewp-config.phpfile from your uploaded WordPress files using an FTP client or your hosting control panel’s file manager.
- Update Database Information: Replace the database name, username, and password with the new details you created:
define('DB_NAME', 'your_new_database_name'); define('DB_USER', 'your_database_username'); define('DB_PASSWORD', 'your_database_password'); define('DB_HOST', 'localhost'); // In most cases, 'localhost' is correct
Save the file and upload it back to your server if necessary.
Step 7: Update URLs in the Database
Your local site URLs need to be updated to match your live site’s domain.
- Use a Plugin or Script: Use a plugin like Better Search Replace to update URLs in your database. This ensures all internal links and media URLs point to the live site.
- Search and Replace: Search for your local site URL (e.g.,
http://localhost/your-site) and replace it with your live site URL (e.g.,https://www.yourlivesite.com).
Learn: Troubleshooting Common WordPress Issues
Step 8: Test Your Live Site
After transferring everything, it’s crucial to test your live site thoroughly.
- Check All Pages and Posts: Navigate through your site to ensure all pages, posts, and media are displaying correctly.
- Test Forms and Functionalities: Check all forms, plugins, and interactive elements to make sure they are functioning as expected.
- Fix Any Issues: If you encounter any issues, address them promptly. Common problems include broken links, missing images, and plugin conflicts.
To Sum Up
Transferring a WordPress site from a local server to a live server involves several steps but can be done smoothly with careful preparation and execution. By following this guide, you can ensure your site is correctly moved and fully functional on its new live environment. Always remember to backup your site and test thoroughly after the transfer to avoid any disruptions.

